So, you’ve caught the embroidery bug. You’ve got your machine humming, a rainbow of threads at the ready, and a head full of design ideas. But then you hit a snag: you found an amazing piece of artwork or a design in the wrong format. Your machine whispers for an OFM file, and you’re left staring at a PNG, JPG, or maybe a PES. Don’t stress! This digital hiccup is a common first step for every embroiderer. Converting designs into the right language for your machine is a fundamental skill, and it’s easier than you might think. This guide will walk you through the why, the how, and the how-to-better of getting your designs stitch-ready, whether you’re looking to convert artwork to OFM file format or switch between embroidery file types.
What Exactly is an OFM File, Anyway?
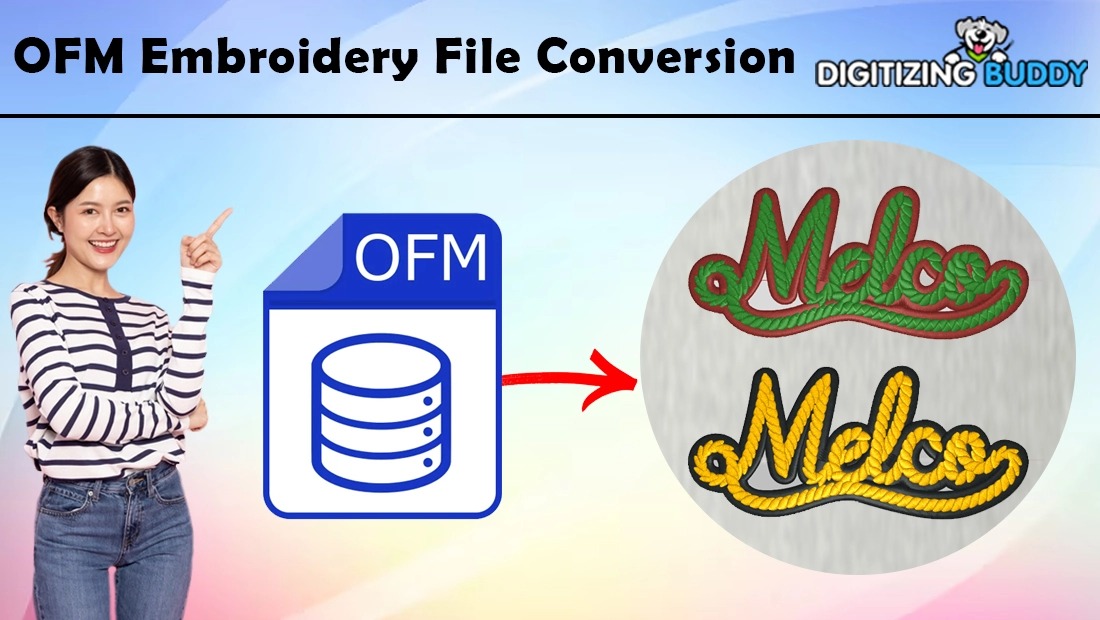
Let’s start with the basics. OFM stands for “Optimal File Management,” and it’s a proprietary embroidery file format created for Brother sewing and embroidery machines. Think of it like a specialized recipe. A JPG is just a picture of a cake—it shows you the result. An OFM file is the detailed recipe itself: it tells your Brother machine exactly where to move the needle, what color thread to use, the sequence of stitches, and even when to trim. It’s this precise set of instructions that transforms a digital image into a physical, stitched masterpiece.
It’s crucial to know that OFM isn’t universal. If you have a Janome, Bernina, or Singer machine, it likely reads different “languages” (like JEF, ART, or VIP). This is why file conversion becomes such an essential part of the hobby and business of embroidery.
Your Conversion Toolkit: Software Solutions
You can’t convert a file with wishful thinking; you need the right software. Here’s a breakdown of your main options.
- Dedicated Embroidery Software:This is the professional’s playground. Programs like Brother’s PE-Design, Embrilliance, Hatch, or Wilcom offer the most power and precision. They allow you to do far more than just convert; you can digitize artwork from scratch, edit existing designs stitch-by-stitch, combine elements, and adjust sizes with advanced stabilization settings. The learning curve is steeper, and the cost is higher, but for serious enthusiasts, it’s an invaluable investment.
- Free & Online Converters:For the beginner dipping their toes in, free online converters are a tempting start. You upload your file, choose OFM as the output, and download the result. It’s quick and requires no installation. However, a word of caution: these are often the “literal translators” of the embroidery world. They can struggle with complex designs, sometimes producing files with stitching errors, poor color separation, or incorrect thread trims. Always, alwaysdo a test stitch on scrap fabric first.
- Built-In Machine Software:Some newer Brother machines come with lightweight software that can handle basic conversions. Check your machine’s manual or the Brother website. While limited, it’s a trustworthy option for simple format swaps between common embroidery types.
Step-by-Step: The Conversion Process
Let’s walk through a typical conversion process using a common scenario: turning a PES file (for a Brother home machine) into an OFM file (often for a larger Brother commercial machine).
- Source Your File: Have your original design file (e.g., PES, DST, EXP) ready on your computer.
- Open Your Software: Launch your chosen conversion tool or embroidery program.
- Import the Design: Use the “File > Open” or “Import” function to load your original file. You should see the design on the screen, often with a color-coded thread chart.
- Inspect and Edit (If Needed): This is your chance to be a quality controller. Check the design size, look for any obvious errors, and glance at the stitch count. Make simple adjustments now if your software allows.
- Choose ‘Save As’ or ‘Export’: Go to the “File” menu again and select “Save As,” “Export,” or “Convert.”
- Select OFM as Your Target: In the dialog box that appears, navigate to the “Save as type” or “Format” dropdown menu. Scroll through the list and select “OFM” or “Brother OFM.”
- Save and Name: Choose where to save your new file on your computer, give it a clear name, and hit “Save.”
- Transfer to Your Machine: Finally, move the new OFM file to your embroidery machine via USB stick, direct cable, or wireless network, following your machine’s instructions.
Pro Tips to Avoid Beginner Pitfalls
- Test, Test, Test: Never skip the test stitch. Run your newly converted design on a piece of similar fabric to check for thread breaks, puckering, or alignment issues.
- Respect Copyright: Only convert designs you have created yourself or have explicit permission to convert and use. Respect the hard work of digitizers.
- Start Simple: Your first conversion project shouldn’t be a detailed portrait. Begin with a simple logo or shape with fewer colors to understand the process.
- Mind the Size: Drastically enlarging or shrinking a design during conversion can distort stitch density. Make adjustments incrementally and check the stitch length in your software’s preview.
- Backup Originals: Always keep a copy of your original artwork or design file before any conversion. You can’t “up-convert” quality back into a file that was simplified.
When Conversion Isn’t Enough: The Digitizing Truth
Here’s the most important lesson for beginners: you cannot magically convert a regular JPG or PNG image directly into a perfect, stitch-ready OFM file. A photograph or logo is just a flat image with no stitching information. The process to create an embroidery file from artwork is called digitizing, which is a skilled craft in itself. While some software has “auto-digitize” functions, the results are often basic and may require heavy cleanup. True digitizing involves manually plotting stitch types, directions, and densities—it’s more like being a architect than a translator. So if your starting point is a picture from the internet, you’ll need to either learn to digitize or hire a professional digitizer to create your first OFM file.
Stitching It All Together
Embarking on your embroidery journey means embracing both the creative art and the necessary tech. Converting files to the OFM format is a gateway skill that unlocks a wider world of designs for your Brother machine. Whether you’re using a free tool for quick fixes or investing in software for full creative control, the process gets easier with practice. Remember to start with simple designs, prioritize testing on fabric, and don’t be afraid to learn the basics of editing. Soon, you’ll move from seeing file conversions as a hurdle to viewing it as just another simple step in your workflow—one that stands between a great idea and a beautifully stitched reality. Now, grab that file, fire up your software, and get ready to stitch something wonderful